
Cleaning up in the Greenhouse
As the shortest day passes, many gardeners begin to contemplate their early tasks and plans for spring and the next growing season. They start to plan out their beds and borders, pruning and replanting and getting the pressure washer out to the patio, paths and decking.
Late winter into early spring is a time when little is growing in the garden other than the odd winter flowering shrub which makes it a good time to turn our attention to the greenhouse. With the possible exception of protecting a few shrubs through the coldest of nights the greenhouse will be largely empty and unused over the late winter months. In that case, what better time to clean it in preparation for the up and coming propagating and growing season.
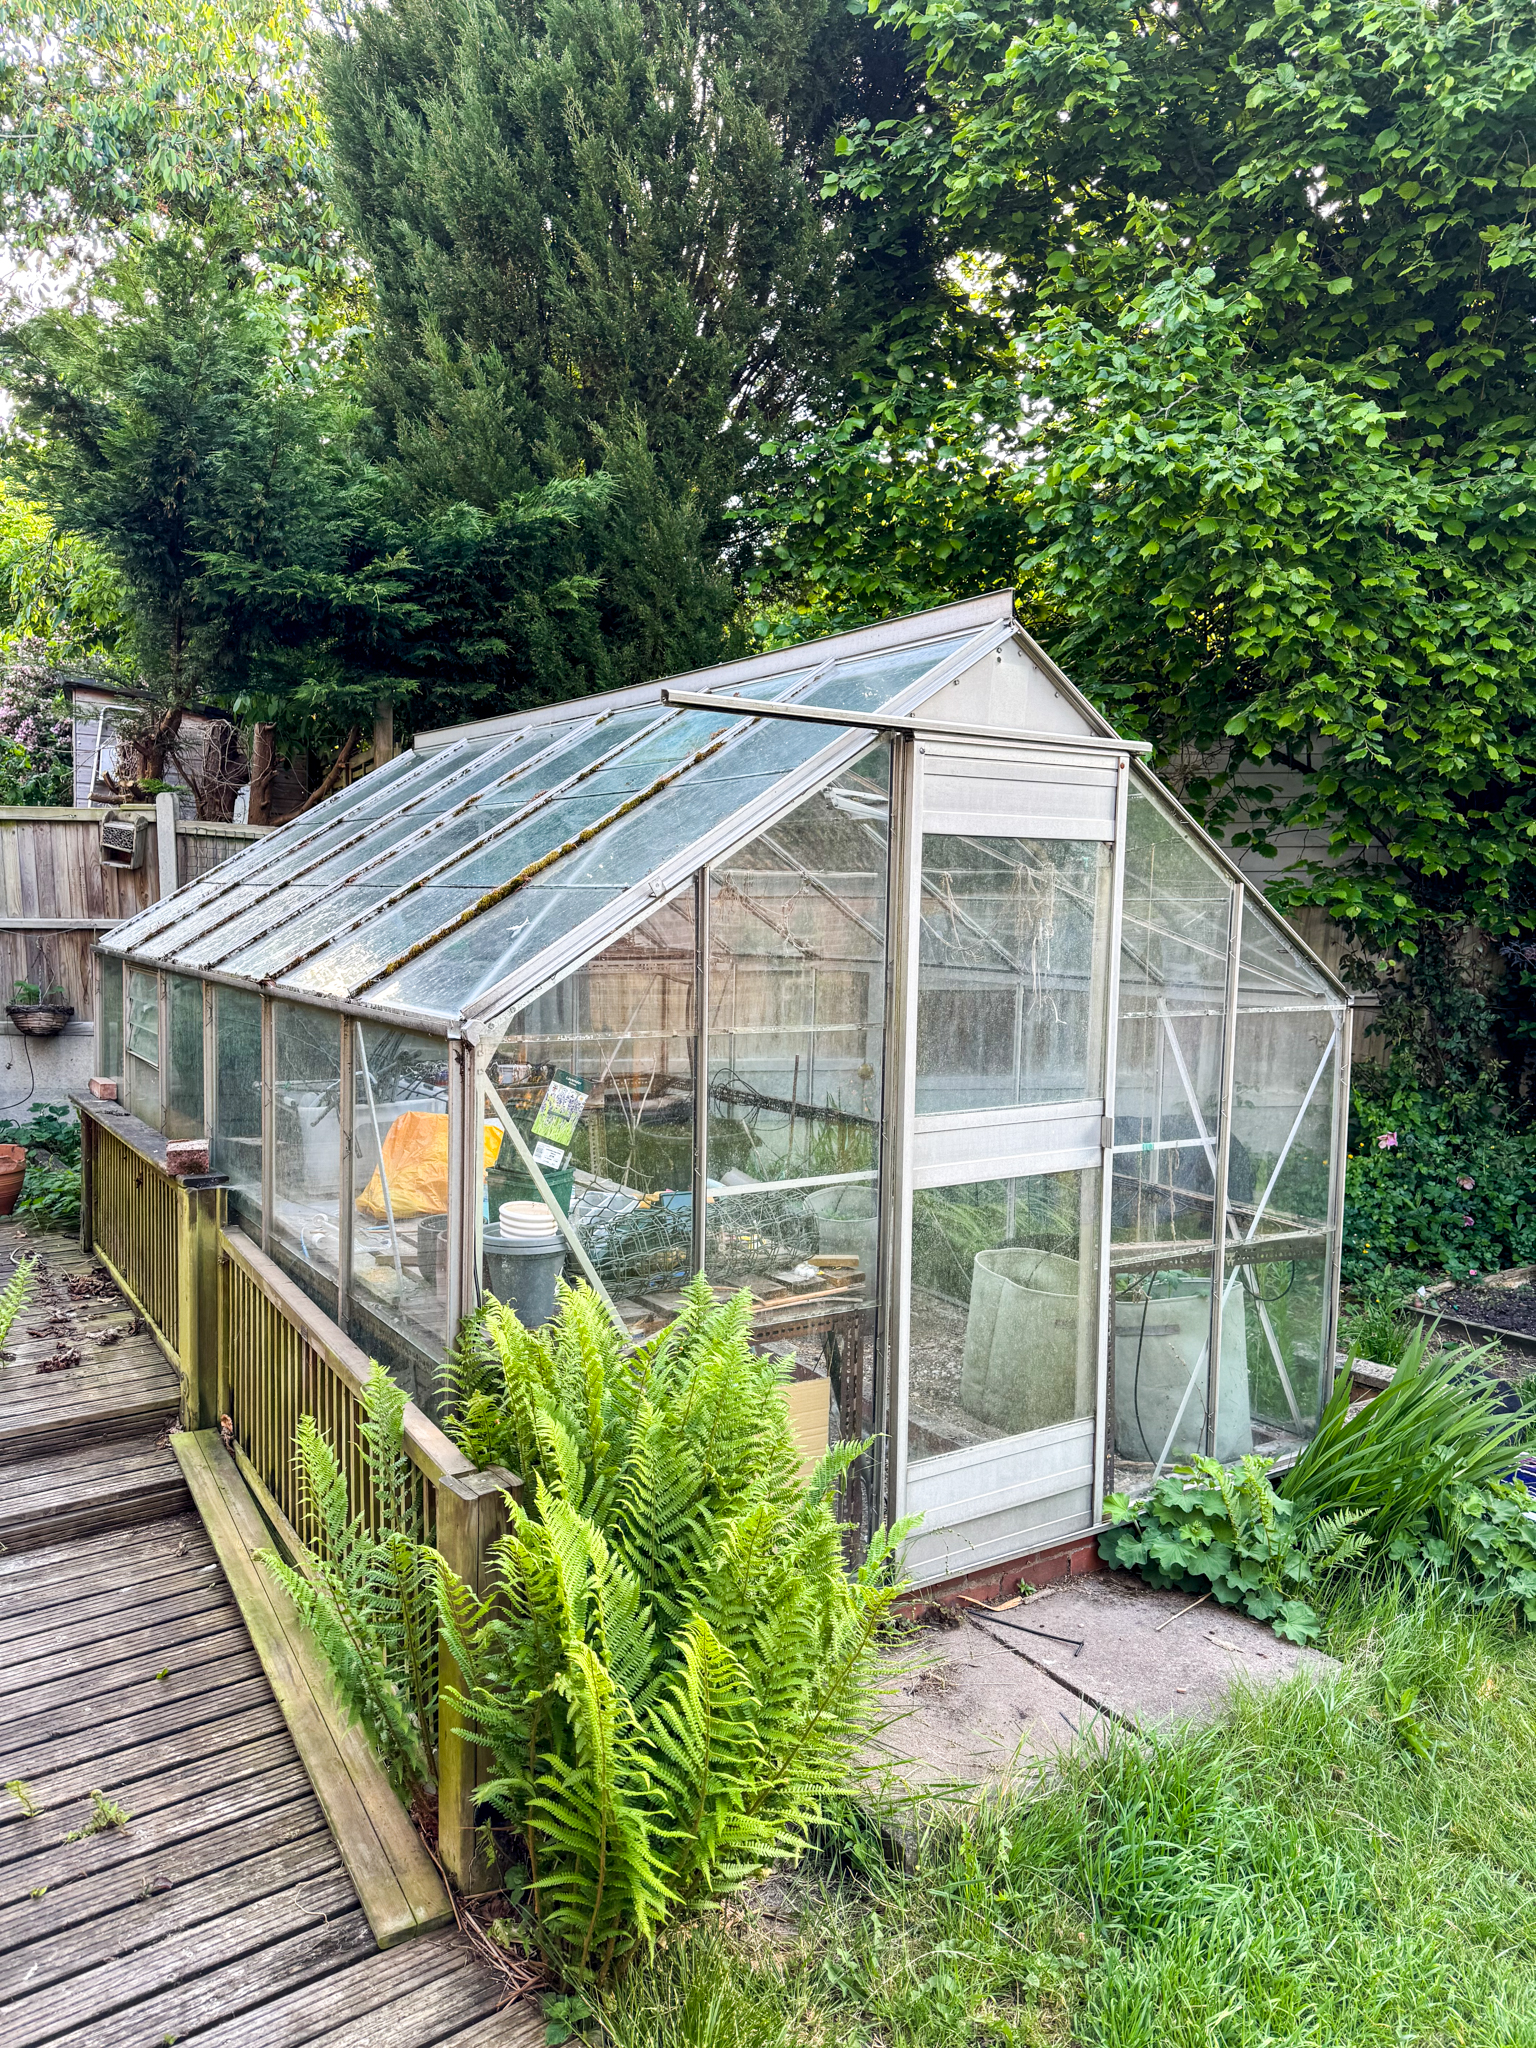
Cleaning the glass will obviously help to let in more light which will provide extra heat to help to promote new growth, but there is more to cleaning a greenhouse that just a cursory wipe down of its glass. A dirty greenhouse not only limits the amount of light and heat to the greenhouse but increases the risk of problems with pests and disease, while a clean work space makes for a more pleasant working environment. A well maintained greenhouse will normally last longer, so a good annual clean can mean a longer lasting structure.
Any plants which are in the greenhouse during late winter and early spring will have been put there to prevent them from frost damage so before you take them out to allow for cleaning to take place, check the local weather forecast to ensure that the temperatures will not damage any of your plants which probably means a minimum temperature of 7°C. Having confirmed that no frost is forecast take all the plants out and place them in a sheltered area of the garden and if in any doubt, cover them with a biodegradable fleece for extra protection. These can be sourced from most good garden centres. Once you have safely removed all your plants, take all of the other equipment, shelving, staging, empty plant pots and treatments out of the greenhouse in readiness for cleaning.
As with most cleaning jobs, it is best to start at the top as debris will fall down when dislodged from the top surfaces and water will drip down during cleaning. Overlapping glass or polycarbonate panes always harbour dirt and dormant pests so take a thin piece of metal or plastic and use to scrape any dirt, algae or moss out of the glazing panel joints. Wash the individual glass or clear plastic panels both inside and out, one at a time using hot water and either a soft cloth or sponge then dry with another soft cloth or a squeegee. If you opt to use a proprietary disinfectant to clean your greenhouse, please ensure that you dilute the fluid according to the manufacturer's instructions and rinse with clean water. A garden hose is ideal for getting into all the little nooks and crannies which harbour insect larva and possible diseases which could affect your plants as they grow. For larger greenhouses use a stable ladder and a long handled brush to gain access to higher panes, taking care not to exert too much weight or pressure on the structure.
Plastic or polycarbonate glazing panels are becoming more popular and although these are less liable to break they are much more susceptible to scratching than glass, so extra care should be taken to avoid damage when cleaning. If any of your panes are cracked or broken, now would be a good time to replace them. Many shed and greenhouse manufacturers now use standard sizes for window glass and glazing panels so they should not be too difficult to source. If you have any problem getting a standard size that fits, measure your panel and go to your local glazing company, who will cut a piece to size which will meet your needs.
Once the glazing has been thoroughly cleaned, use the same cleaning mix to ensure that all of the structural parts of the greenhouse have been cleaned to get rid of any hidden snails, mites or spiders webs. Use a stiff brush to sweep all the debris off the floor and if your floor is concrete or paved with slabs, scrub it down with your water / disinfectant mixture then rinse with your garden hose to get rid of all the insects and disease spores that could cause problems when you are growing plants and vegetables. Opening the greenhouse door and any vents will create an air flow through the structure and speed up the drying process.
If your greenhouse has guttering, check this while wearing rubber gloves and remove any obstructions such as moss, leaves and other debris which has gathered and ensure that there is a free flow of water in the guttering. Should the guttering drain to a water butt, it would be wise to drain that and ensure that it is clean and free of any obstructions.
As well cleaning the greenhouse, we also need to clean the staging and shelving which will be returned to the greenhouse. Using the same water / disinfectant mixture, wash down these items with a brush then use a hose to dislodge any debris clinging to them and rinse the disinfectant off. Stacks of empty plastic pots are a breeding ground for bugs and disease and need to be washed in the same way as the shelving and staging to remove all trace of insects and bugs. It might also be a good time to throw out any surplus pots and other never to be used items to reduce the clutter in the greenhouse and give undesirables less breeding ground. Any other items which are to be returned to the greenhouse should also be cleaned before they are put back and again consideration should be given to any that are not needed and are only taking up space on the shelves.
With all of this done, any plants taken out of the greenhouse should now have their pots or trays cleaned and be replaced. The cleaning of a greenhouse is time consuming but if it is not done properly, then it is time wasted. Cleaning your greenhouse should be done at least once or twice a year to ensure that it is always at its best and most productive.